


Pattern, grid, colors: Before laying the first tile of your DIY pixel art mosaic, you need a solid foundation. The pattern will guide every step of your creation, from color selection to final placement. In this second part of our Pixel Art Mosaic Guide, Pixel Corner shows you how to easily create your own pattern, even without professional software or drawing skills.
1. Choosing Your Free Tools to Create a Pixel Art Pattern
Good news: you don't need complex or expensive pixel art software to create your mosaic pattern! Several free online tools allow you to draw on a grid or convert an existing image into pixels.
🖥️ The best free online pixel art software
🎨 Pixilart
Online pixel art drawing editor with customizable grid. Ideal for creating simple patterns. No registration required.
Try Pixilart →🎮 Piskel
Perfect for precise patterns. Professional interface with layers, history, and multiple export options. Cloud save.
Try Piskel →⚡ Pixel Art Maker
Minimalist interface for quickly testing your compositions. Flexible grid (8×8 to 32×32). Instant PNG export.
Try Pixel Art Maker →📄 Alternative: The paper grid (classic method)
If you prefer paper and pencils, we have created a free pixel art drawing grid especially for you. Download our blank Pixel Grid, print it, and draw your pixel art directly!

The paper method is perfect for a relaxing creative activity with family. It's a great way to disconnect from screens while creating your future original DIY gift!
← Part 1: 5 ideas to find inspiration before creating your pixel art mosaic
2. Determine the Format and Size of Your Pixel Art Mosaic
The size of your mosaic depends on the desired final rendering and your level of experience. Here are some simple guidelines to get started:
🎯 Recommended formats guide
📦 Mini Format: 8×8 to 12×12 tiles
Ideal for: Testing an idea, creating a mini artwork, learning the basics
Time: 30 min to 1h | Level: Beginner | Tiles: 64 to 144
💡 Perfect for getting started and building confidence!
🧩 Classic Format: 16×16 tiles
Ideal for: Creating a complete artwork, reproducing gaming icons, decorating your home
Time: 1h30 to 3h | Level: Beginner/Intermediate | Tiles: 256
🎮 Standard format of our Pixel Art Kits!
🖼️ Large Format: 24×24 tiles or more
Ideal for: Complex decorative compositions, wall frescoes, ambitious projects
Time: 4h+ | Level: Advanced | Tiles: 576+
⚠️ Recommended after mastering Mini and Classic formats
Start with a Mini format, then gradually increase the size. This will help you better understand pixel structure and balance while keeping it an easy and rewarding DIY activity.
3. Adapting an Existing Image to a Pixelated Version
Do you have a photo, a drawing, or a character you love? Turn it into pixel art using free image converters! In just a few clicks, your visual becomes a pattern ready to be reproduced.
🤖 The best free image → pixel art converters
📸 PixelMe
Converts your face photos into retro pixel art. Ideal for creating avatars or pixelated portraits.
Try PixelMe →🎨 DeepAI Pixel Generator
Uses AI to transform any image into pixel art with different styles. Perfect for experimenting.
Try DeepAI →🔧 How to refine your pixelated image
Once your image is converted, you often need to optimize it for mosaic:
- Simplify details: Remove small unreadable elements
- Reduce the number of colors: Limit to 4-6 shades
- Strengthen outlines: Add a 1-2 pixel black outline
- Test the size: Check that the pattern remains recognizable at 16×16

The fewer details, the more readable your pattern will be once in mosaic form. A face simplified to 5 colors will always be more impactful than a complex portrait with 15 shades. Think minimalism!
4. Selecting Your Color Palette
The color palette is the heart of your pixel art pattern. A well-chosen palette will make your mosaic harmonious and readable.
🎯 The perfect formula: 4 to 6 colors maximum
Here is the ideal structure for building a balanced palette:
The "theme" of your artwork. This is the dominant color that defines the overall mood. Example: Blue for water, Red for fire
1 to 2 shades that accompany the main one. They enrich without dominating. Example: Yellow and orange for a sunset
Essential for creating contrast and depth. Black for outlines, white for highlights. Example: Black (outlines) + White (highlights)
🧪 Examples of palettes that work well
| Theme | Palette (6 colors max) | Ideal for |
|---|---|---|
| Retro Gaming | Red, Blue, Yellow, White, Black, Grey | Mario, Sonic, Pac-Man |
| Nature | Green, Brown, Beige, Sky Blue, White | Trees, animals, landscapes |
| Street Art | Black, White, Red, Dark Grey | Banksy style, urban graffiti |
| Pop Culture | Pink, Purple, Cyan, Yellow, White, Black | Kawaii universe, vaporwave |
You can draw inspiration from the recycled glass tiles available in our bulk materials to balance your shades. Our tiles are made in the Basque Country with natural pigments!

5. Exporting or Reproducing Your Pattern by Hand
Is your pixel art pattern finished? It's now time to prepare it for assembly. Two methods are available to you:
🖥️ Method 1: Digital export (software)
- Save in .PNG (best quality) or .JPG format
- Check resolution: 1 pixel = 1 tile (no smoothing)
- Print at actual size: 1cm = 1 tile for Classic tiles (10×10mm)
- Keep a digital copy on your phone
✏️ Method 2: Reproduction on paper grid (manual)
- Download and print our blank Pixel Grid
- Redraw your pattern pixel by pixel following the grid
- Color each square according to your color palette
- Bonus: Number your colors (1, 2, 3...) to facilitate assembly

You can number your colors (1, 2, 3...) on your paper grid to orient yourself more easily. For example: 1 = Blue, 2 = White, 3 = Black. This transforms your drawing into a real professional mosaic pattern!
6. Our Kits & Resources to Bring Your Pattern to Life
Need support to turn your pixel art pattern into a real wall mosaic? Here are our made-in-France essentials:
🎁 Free resources
📄 Free Pixel Grid
Blank drawing grid to print for creating your patterns on paper. A4 format, compatible with all types of markers.
Download (PDF) →🃏 Free Pixel Card(s)
Easy pixel art patterns to download and print. Several themes available to inspire you.
View patterns →🎮 Our ready-to-assemble Pixel Art Kits
👾 Little Alien(s)
Retro gaming aliens with multiple different designs. Perfect for creating your personalized pattern.
Discover →👻 The Gloomie(s)
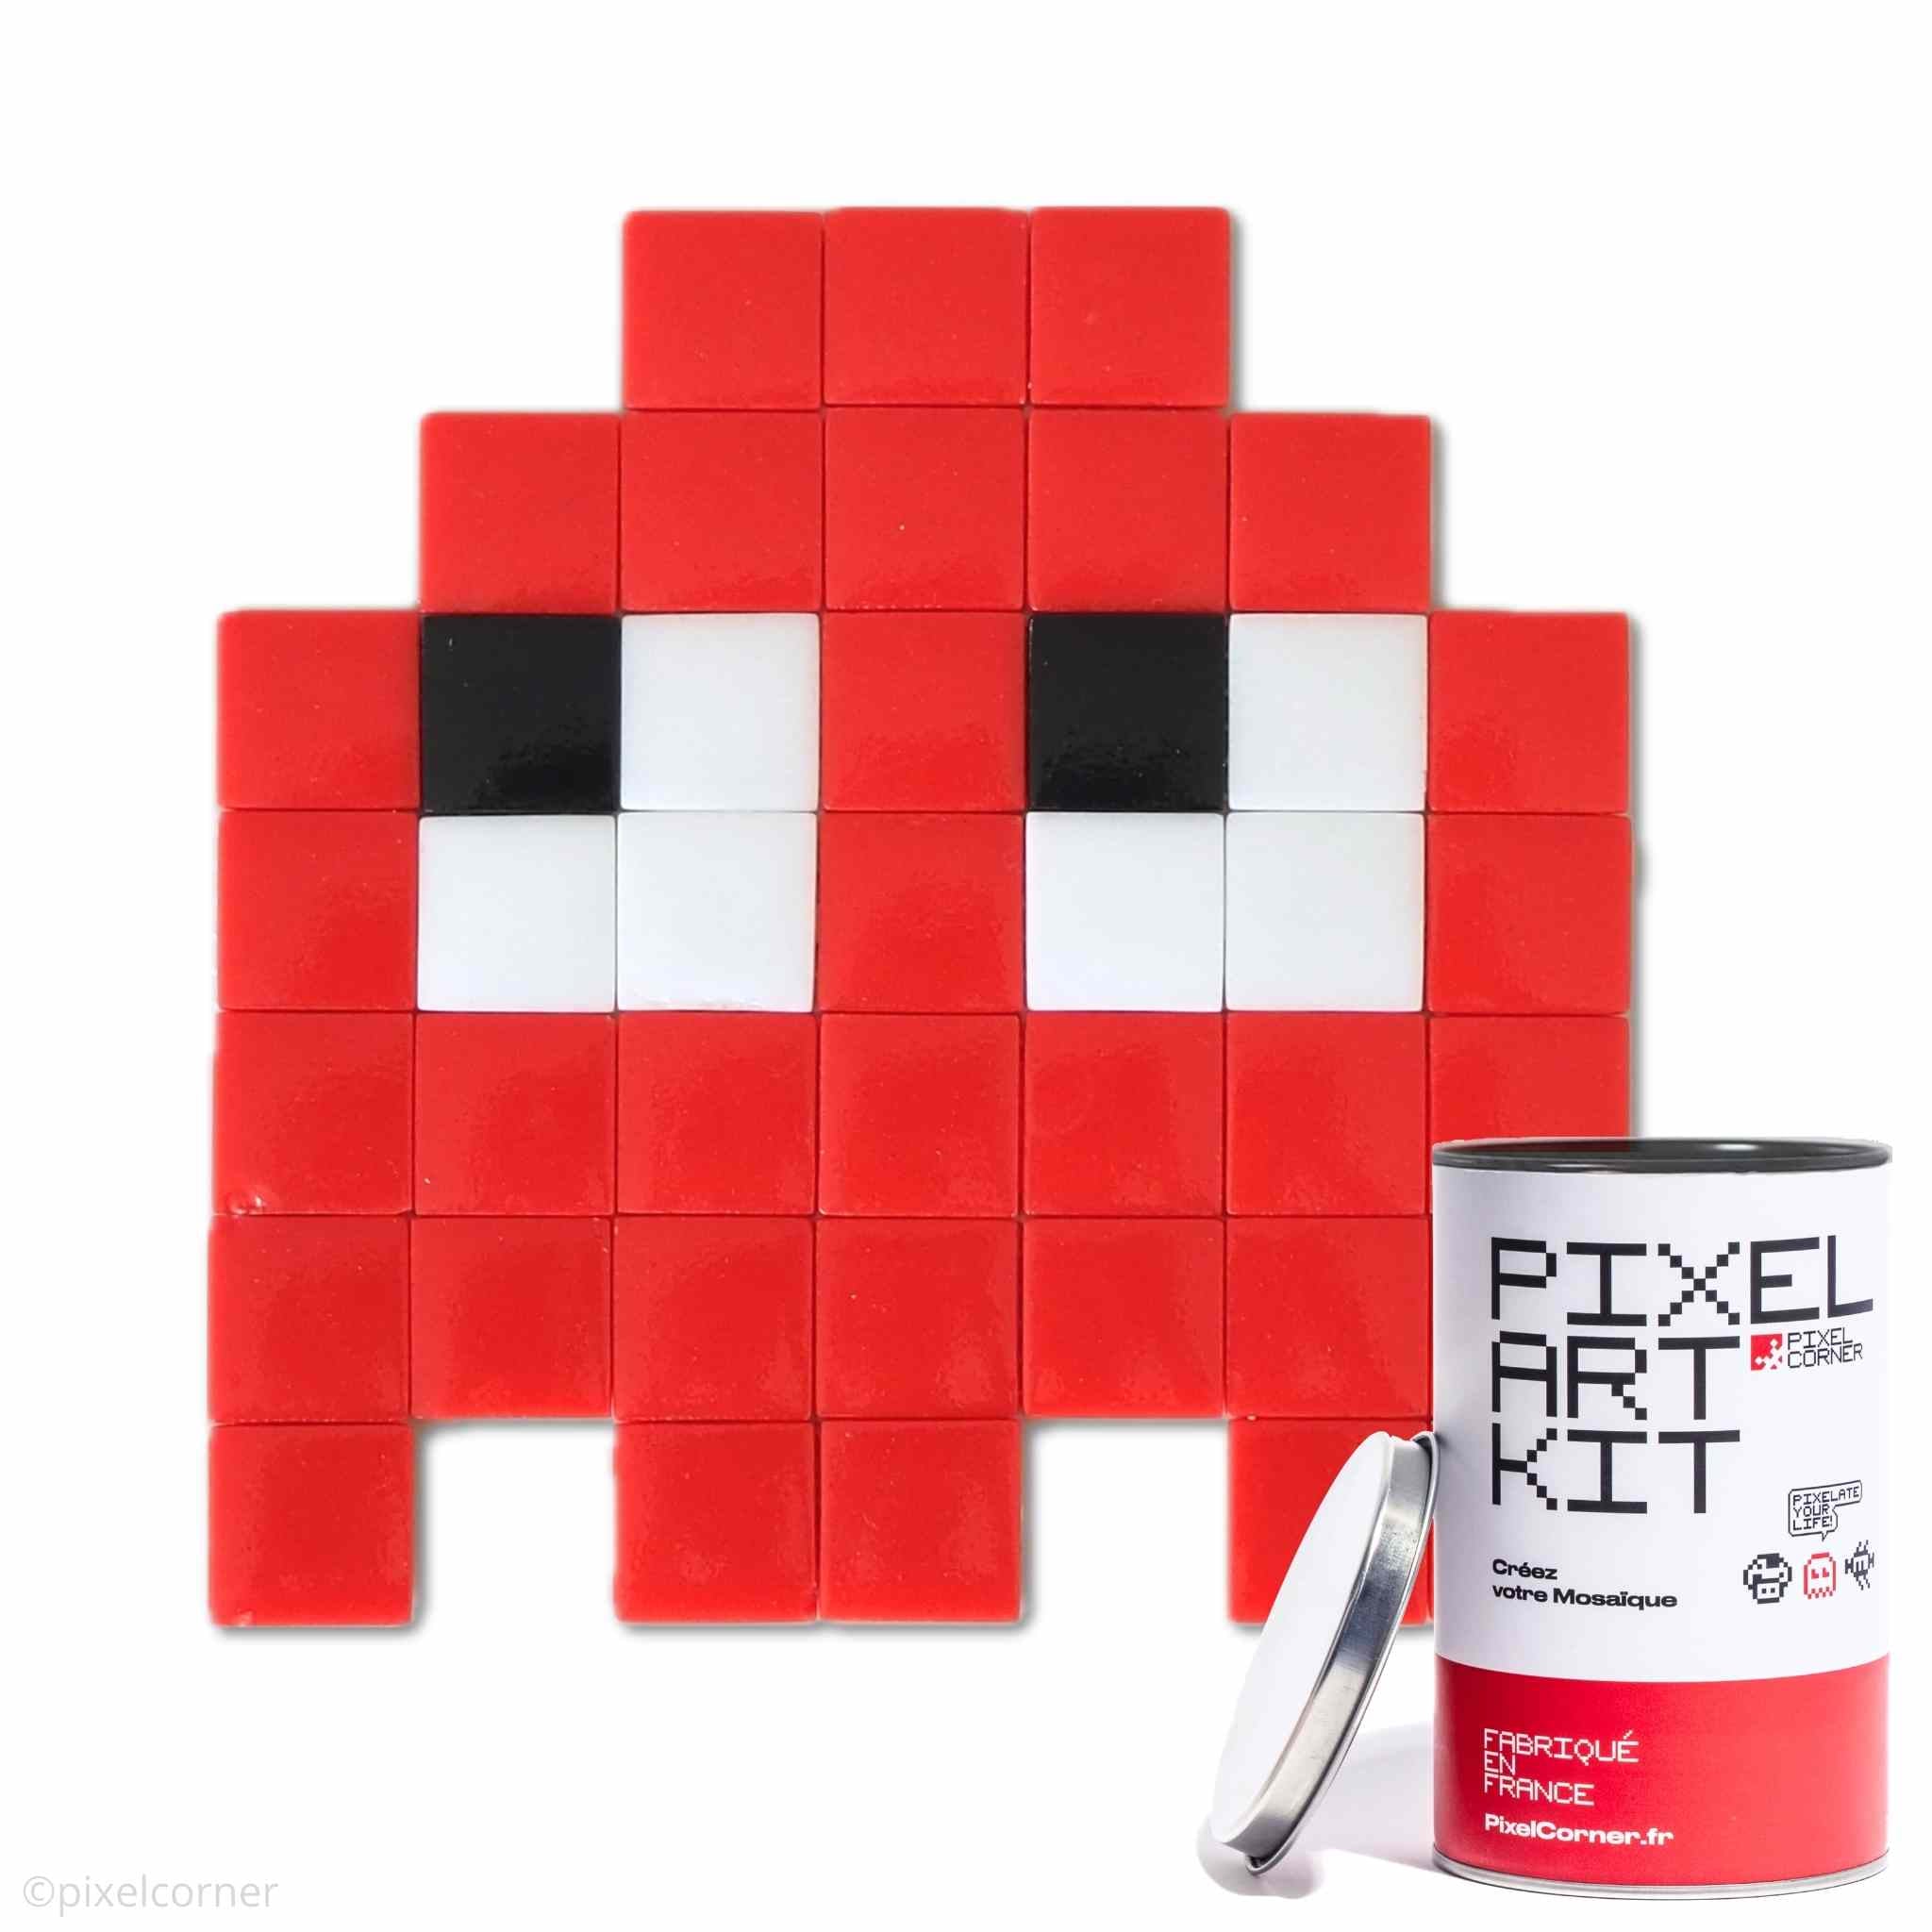
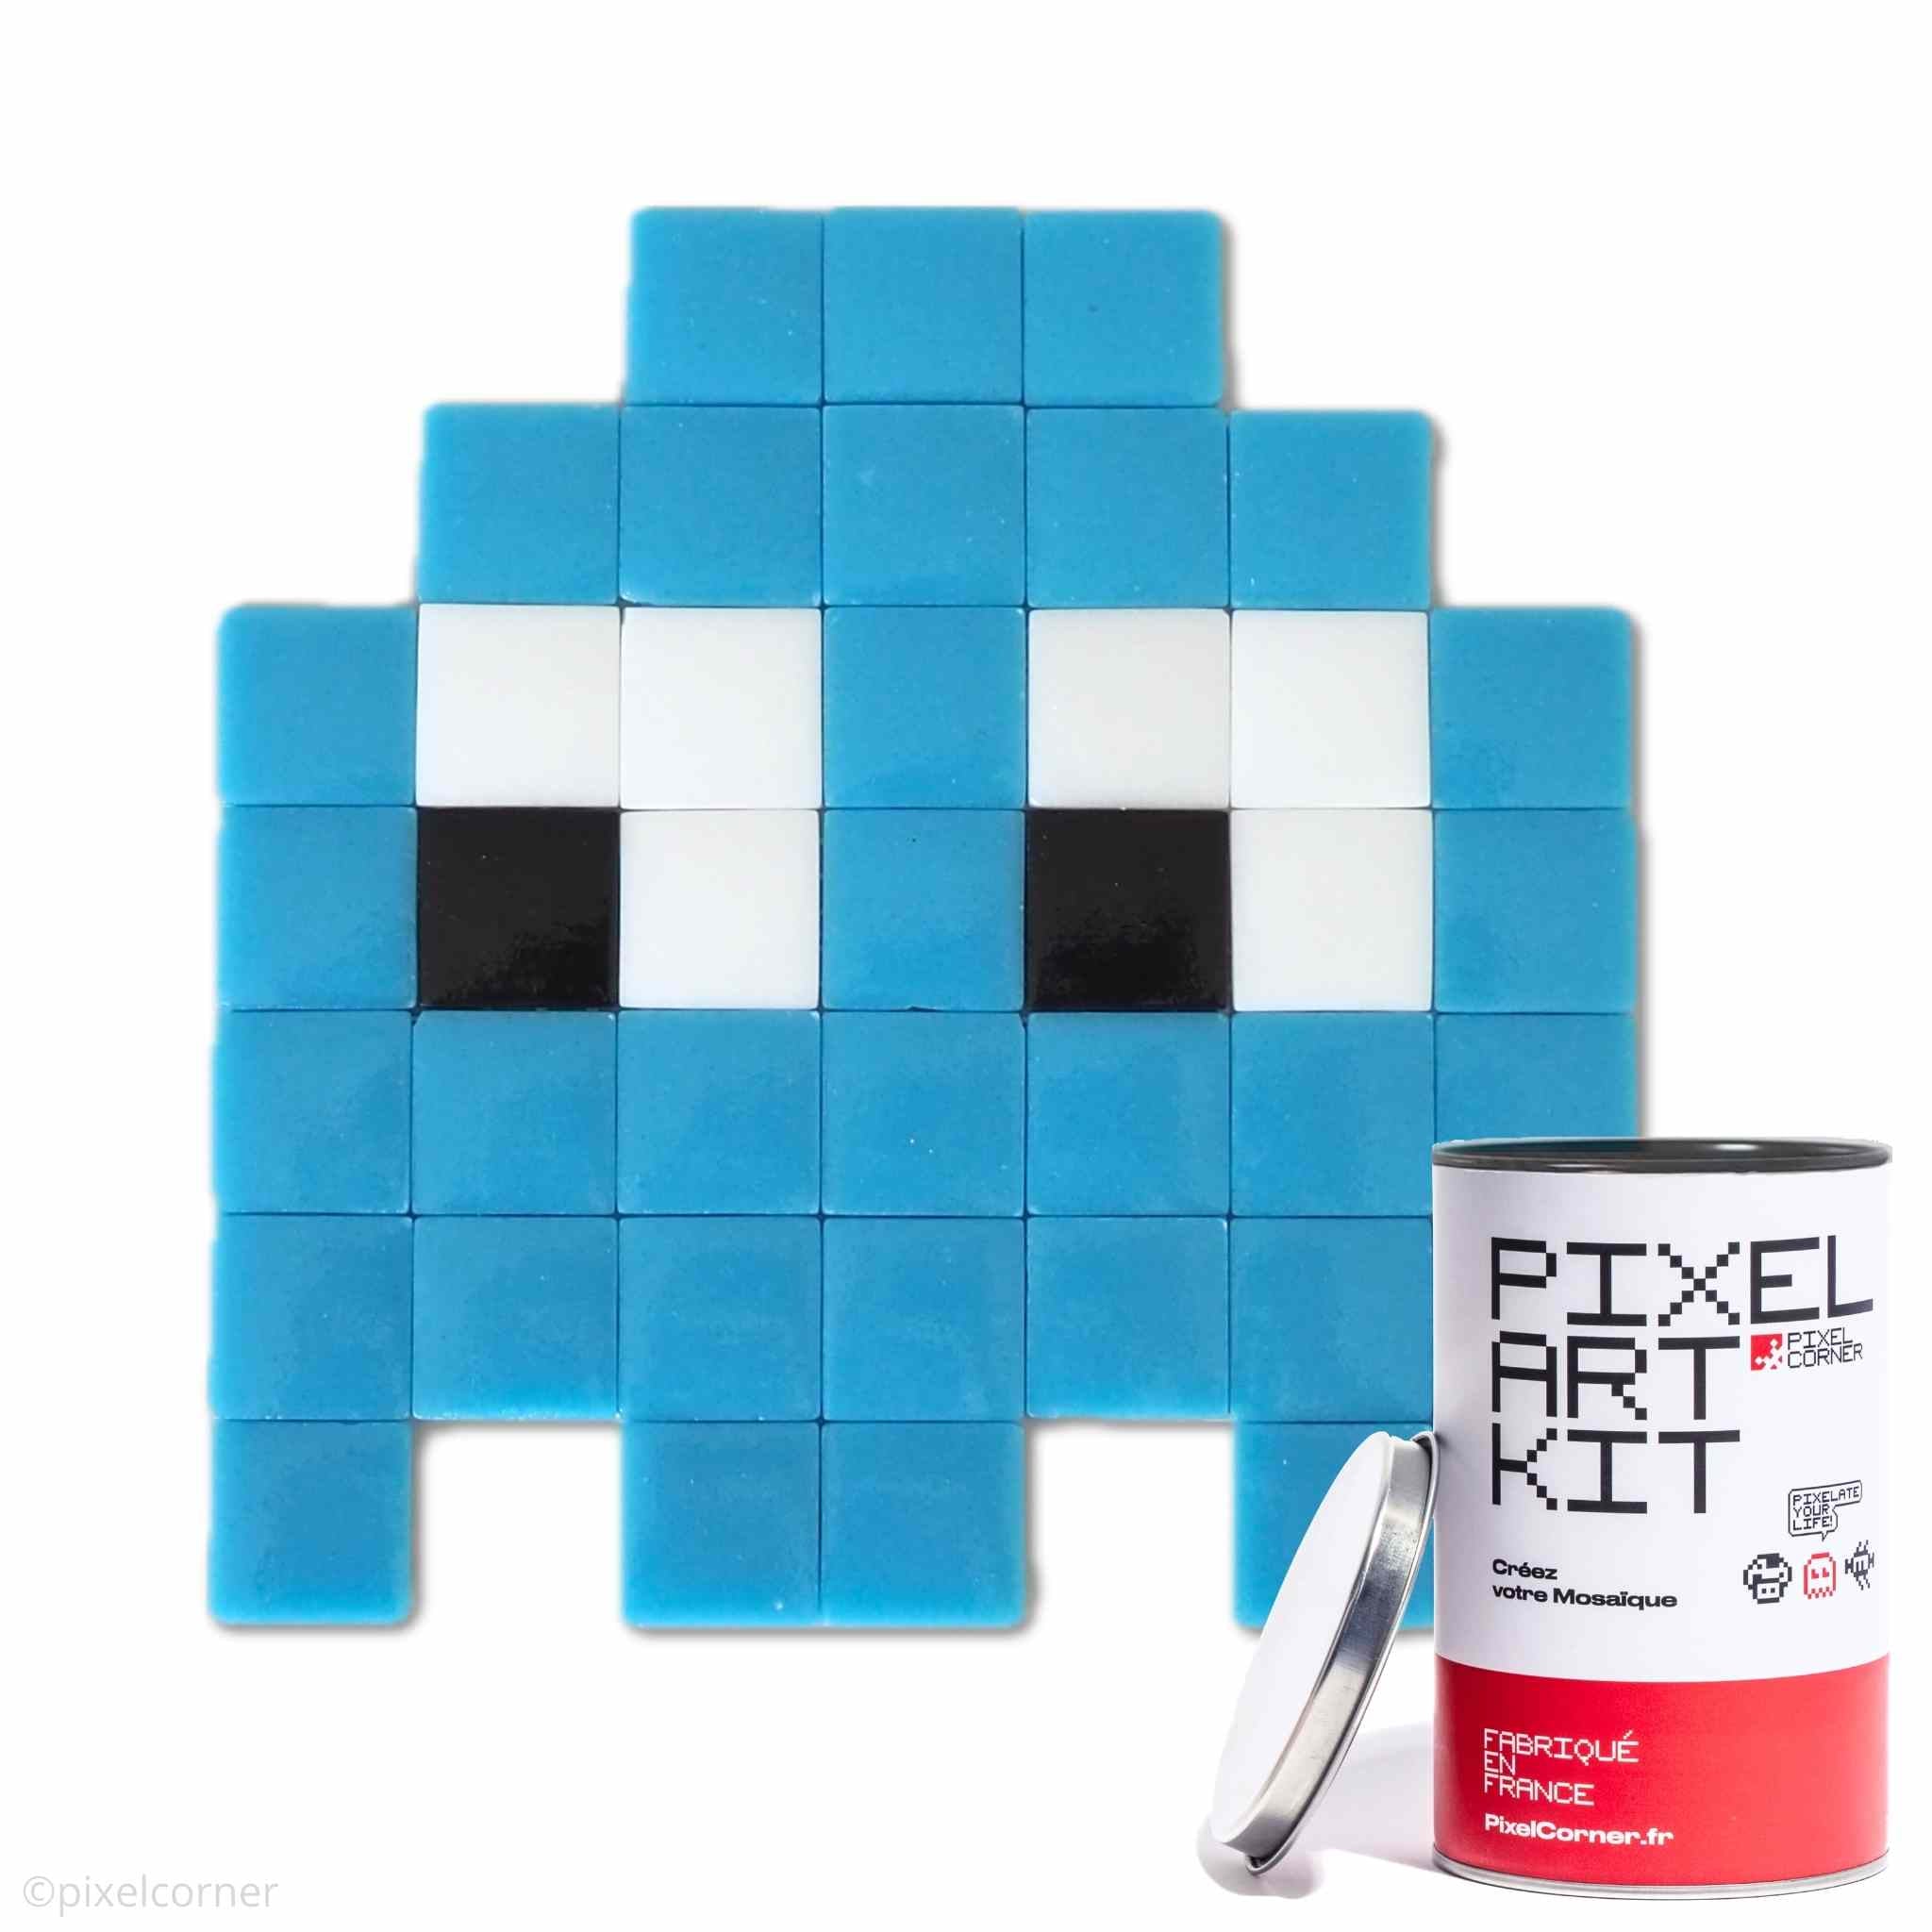
Super cute pixel art ghosts. Simple patterns and a perfect original gift for beginners.
Discover →🧰 All Kits
Explore our entire collection: gaming, street art, nature, pop culture. Everything you need to find THE perfect pattern.
View all kits →🧱 Ready to bring your pattern to life?
Assemble your personalized creation with our complete Pixel Art Kits (all included: tiles, glue, grid, pattern) or compose a unique wall art with our bulk materials (individual tiles, 2 sizes available).
Frequently Asked Questions: Creating a Pixel Art Pattern
What free software can I use to create a pixel art pattern?
The best free software for creating pixel art templates are Pixilart (simple and colorful), Piskel (ideal for precise patterns), and Pixel Art Maker (for quick testing). Alternatively, download our free Pixel Grid to draw on paper.
What is the best size to start with in pixel art?
To start, begin with a Mini format (8x8 to 12x12 tiles) to test your ideas. The Classic format (16x16 tiles) is ideal for creating complete wall art and corresponds to the standard of our Pixel Art Kits. Avoid large formats (24x24+) until you master the basics.
How to easily convert a photo to pixel art?
Use free online converters like PixelMe (for 8-bit style portraits) or DeepAI Pixel Generator (creative renderings). Then, simplify the result by reducing the number of colors (4-6 max) and adjusting the outlines to improve readability.
How many colors should I use in a pixel art template?
Limit your palette to 4-6 colors maximum: 1 main color (the theme), 1-2 secondary colors, and 1 light tone + 1 dark tone for contrasts. Golden rule: fewer colors = more readable pattern once transformed into a mosaic. You can draw inspiration from our recycled glass tiles to choose harmonious shades.
Can you create a pixel art template without a computer?
Yes, it's actually very relaxing! Download our free Pixel Grid paper grid, print it, and draw your design directly with markers or colored pencils. You can number each color (1, 2, 3...) to facilitate assembly. It's an excellent screen-free creative activity!
Summary: Create Your Pixel Art Template in 5 Steps
Creating a pixel art mosaic template is like sketching a musical score: each square is a note, each color an emotion. Take the time to experiment, adjust, and most importantly, have fun — pixel art is an infinite creative playground!
📝 Quick Recap of the 5 Steps
- Choose your tools (free software or paper grid)
- Determine the size (Mini 8x8, Classic 16x16, Large 24x24+)
- Adapt an image (online converter if needed)
- Select your palette (4-6 colors maximum)
- Export your template (PNG/JPG or paper grid)
You now have all the keys to create your pixel art template! Move on to the next step to learn how to choose the right tiles and materials and transform your template into a true wall artwork. 🧩✨




Leave a comment
This site is protected by hCaptcha and the hCaptcha Privacy Policy and Terms of Service apply.