


Tiles, sizes, adhesives, tools, bases: here's everything you need to know to choose the right materials before creating your successful DIY pixel art mosaic. The choice of materials is an essential step to achieve a clean, durable, and aesthetic result. In this third part of Pixel Corner's Pixel Art Mosaic Guide, let's discover the best materials to transform your design into a true wall art piece.
1. The Different Types of Tiles for Pixel Art Mosaic
Mosaic tiles are the heart of your creation. Their material, texture, and color directly influence the final look, durability, and aesthetics of your artwork.
🔍 Tile Material Comparison
🟢 Hama Beads (Plastic Tiles)
Pros: Very light, easy to handle, many vibrant colors. Economical and perfect for fun creations with children. Hama beads can be ironed together or glued.
Cons: Less shiny than glass, more "toy-like" appearance. Less suitable for high-end designer wall decor or outdoor use.
💰 Price: €€ (economical) | 🎯 Use: Children, creative hobbies, alternative street art
⭐ Glass Tiles (Recommended)
Pros: Unique brilliance and "mirror effect" finish. Perfect precision. Exceptional durability. Eco-friendly (recycled material). Perfect for decorative or interior design projects.
Cons: More fragile to handle and heavier. More expensive than plastic (but premium quality guaranteed).
💰 Price: €€€ (premium quality) | 🎯 Use: Wall decoration, artistic works, durable gifts
🟣 Stone or Ceramic Tiles
Pros: Raw, natural, and textured appearance. Very durable and weather-resistant (outdoor use). Authentic "antique mosaic" style.
Cons: Rarer and more expensive. Limited colors (natural tones). Difficult to cut. Less suitable for precise geometric pixel art.
💰 Price: €€€€ (high-end) | 🎯 Use: Ambitious artistic projects, outdoor murals
At Pixel Corner, all our tiles are made from high-quality recycled glass sourced from other industries, colored with natural pigments ♻️, and hand-assembled in Saint-Ouen. This approach combines environmental sustainability, precision, and exceptional brilliance.

← Part 1: 5 ideas to find inspiration
← Part 2: How to easily create your design
2. Choosing the Right Tile Size (Mini, Classic or XXL)
The choice of tile size depends on the desired level of detail, the surface to cover, and your patience! The smaller the pixels, the more precise the result... but also the longer it takes to assemble.
🎯 Recommended size guide
| Size | Dimensions | Recommended Use | Level |
|---|---|---|---|
| Mini | 1.2 × 1.2 cm | Detailed creations, portraits, complex designs | Advanced |
| Classic ⭐ | 2.3 × 2.3 cm | Standard format: perfect balance. Ideal for beginners | All levels |
| XXL | ≈ 4 cm | Giant murals, outdoor projects | Advanced |
📦 Small Tiles (Mini)
For detailed creations. Ultra-precise rendering but longer assembly time. Intermediate/advanced level.
Discover Mini →⭐ Large Tiles (Classic)
Recommended format for beginners! Perfect balance between visual rendering and ease of assembly.
Discover Classic →To start, choose the Classic format (2.3×2.3cm) and Pixel Art Kit models like Les Tiny(s) or Les Gloomie(s) which offer the best accessibility.

3. What Backing or Base to Use for Your Mosaic?
The backing ensures the stability of your mosaic and facilitates tile placement. The choice depends on your project: wall art, XXL mural, or repositionable creation.
🎯 Recommended backing types
🪵 Rigid Base (Wood, Plexiglass, Plastic)
Use: To create a frameable wall art piece. Perfect on the back of a repainted frame, a plexiglass sheet, or a plywood panel.
Pros: Very stable, easy to hang, protects the tiles. Ideal for designer interior decoration.
💡 Tip: Paint the background black or white depending on your palette before gluing.
📐 Special Flexible Mosaic Grid (Recommended ⭐)
Use: The special Pixel Corner grid included in all our Pixel Art Kits. Professional solution for large formats and easy assembly.
Pros: Pre-printed with grid, flexible but resistant, facilitates precise positioning. Significant time-saver.
💡 Tip: Glue the grid onto a rigid base for even greater stability.
Thanks to our professional indoor/outdoor two-component adhesive, your tiles can be permanently fixed to any surface: wood, glass, plexiglass, metal, concrete. This transparent adhesive is UV and weather resistant!
4. Professional Adhesive, Essential Tools and Accessories
To successfully complete your mosaic, you will need a few essential tools and a good adhesive. The equipment is simple, inexpensive, and probably already in your drawers!
🧰 List of essential materials
- Professional mosaic adhesive indoor/outdoor two-component transparent
- Alternative: Thick universal adhesive like "No More Nails"
- ❌ Avoid: Superglue (risk of sticking fingers), liquid glues
- Cutting mat or large flat cardboard
- Small spatula to scrape off excess
- Tweezers (optional) for precision
- Thin latex or nitrile gloves
- Paper towels
- Small bowls for sorting tiles by color
Use a mobile support (large rigid board, cutting board) so you can move your mosaic even if it's not finished. Also remember to photograph your progress regularly!

5. Eco-friendly Materials Recommended by Pixel Corner
To make your life easier and guarantee a professional result, Pixel Corner has selected the best made in France and eco-responsible materials.
🎁 Our ready-to-use solutions
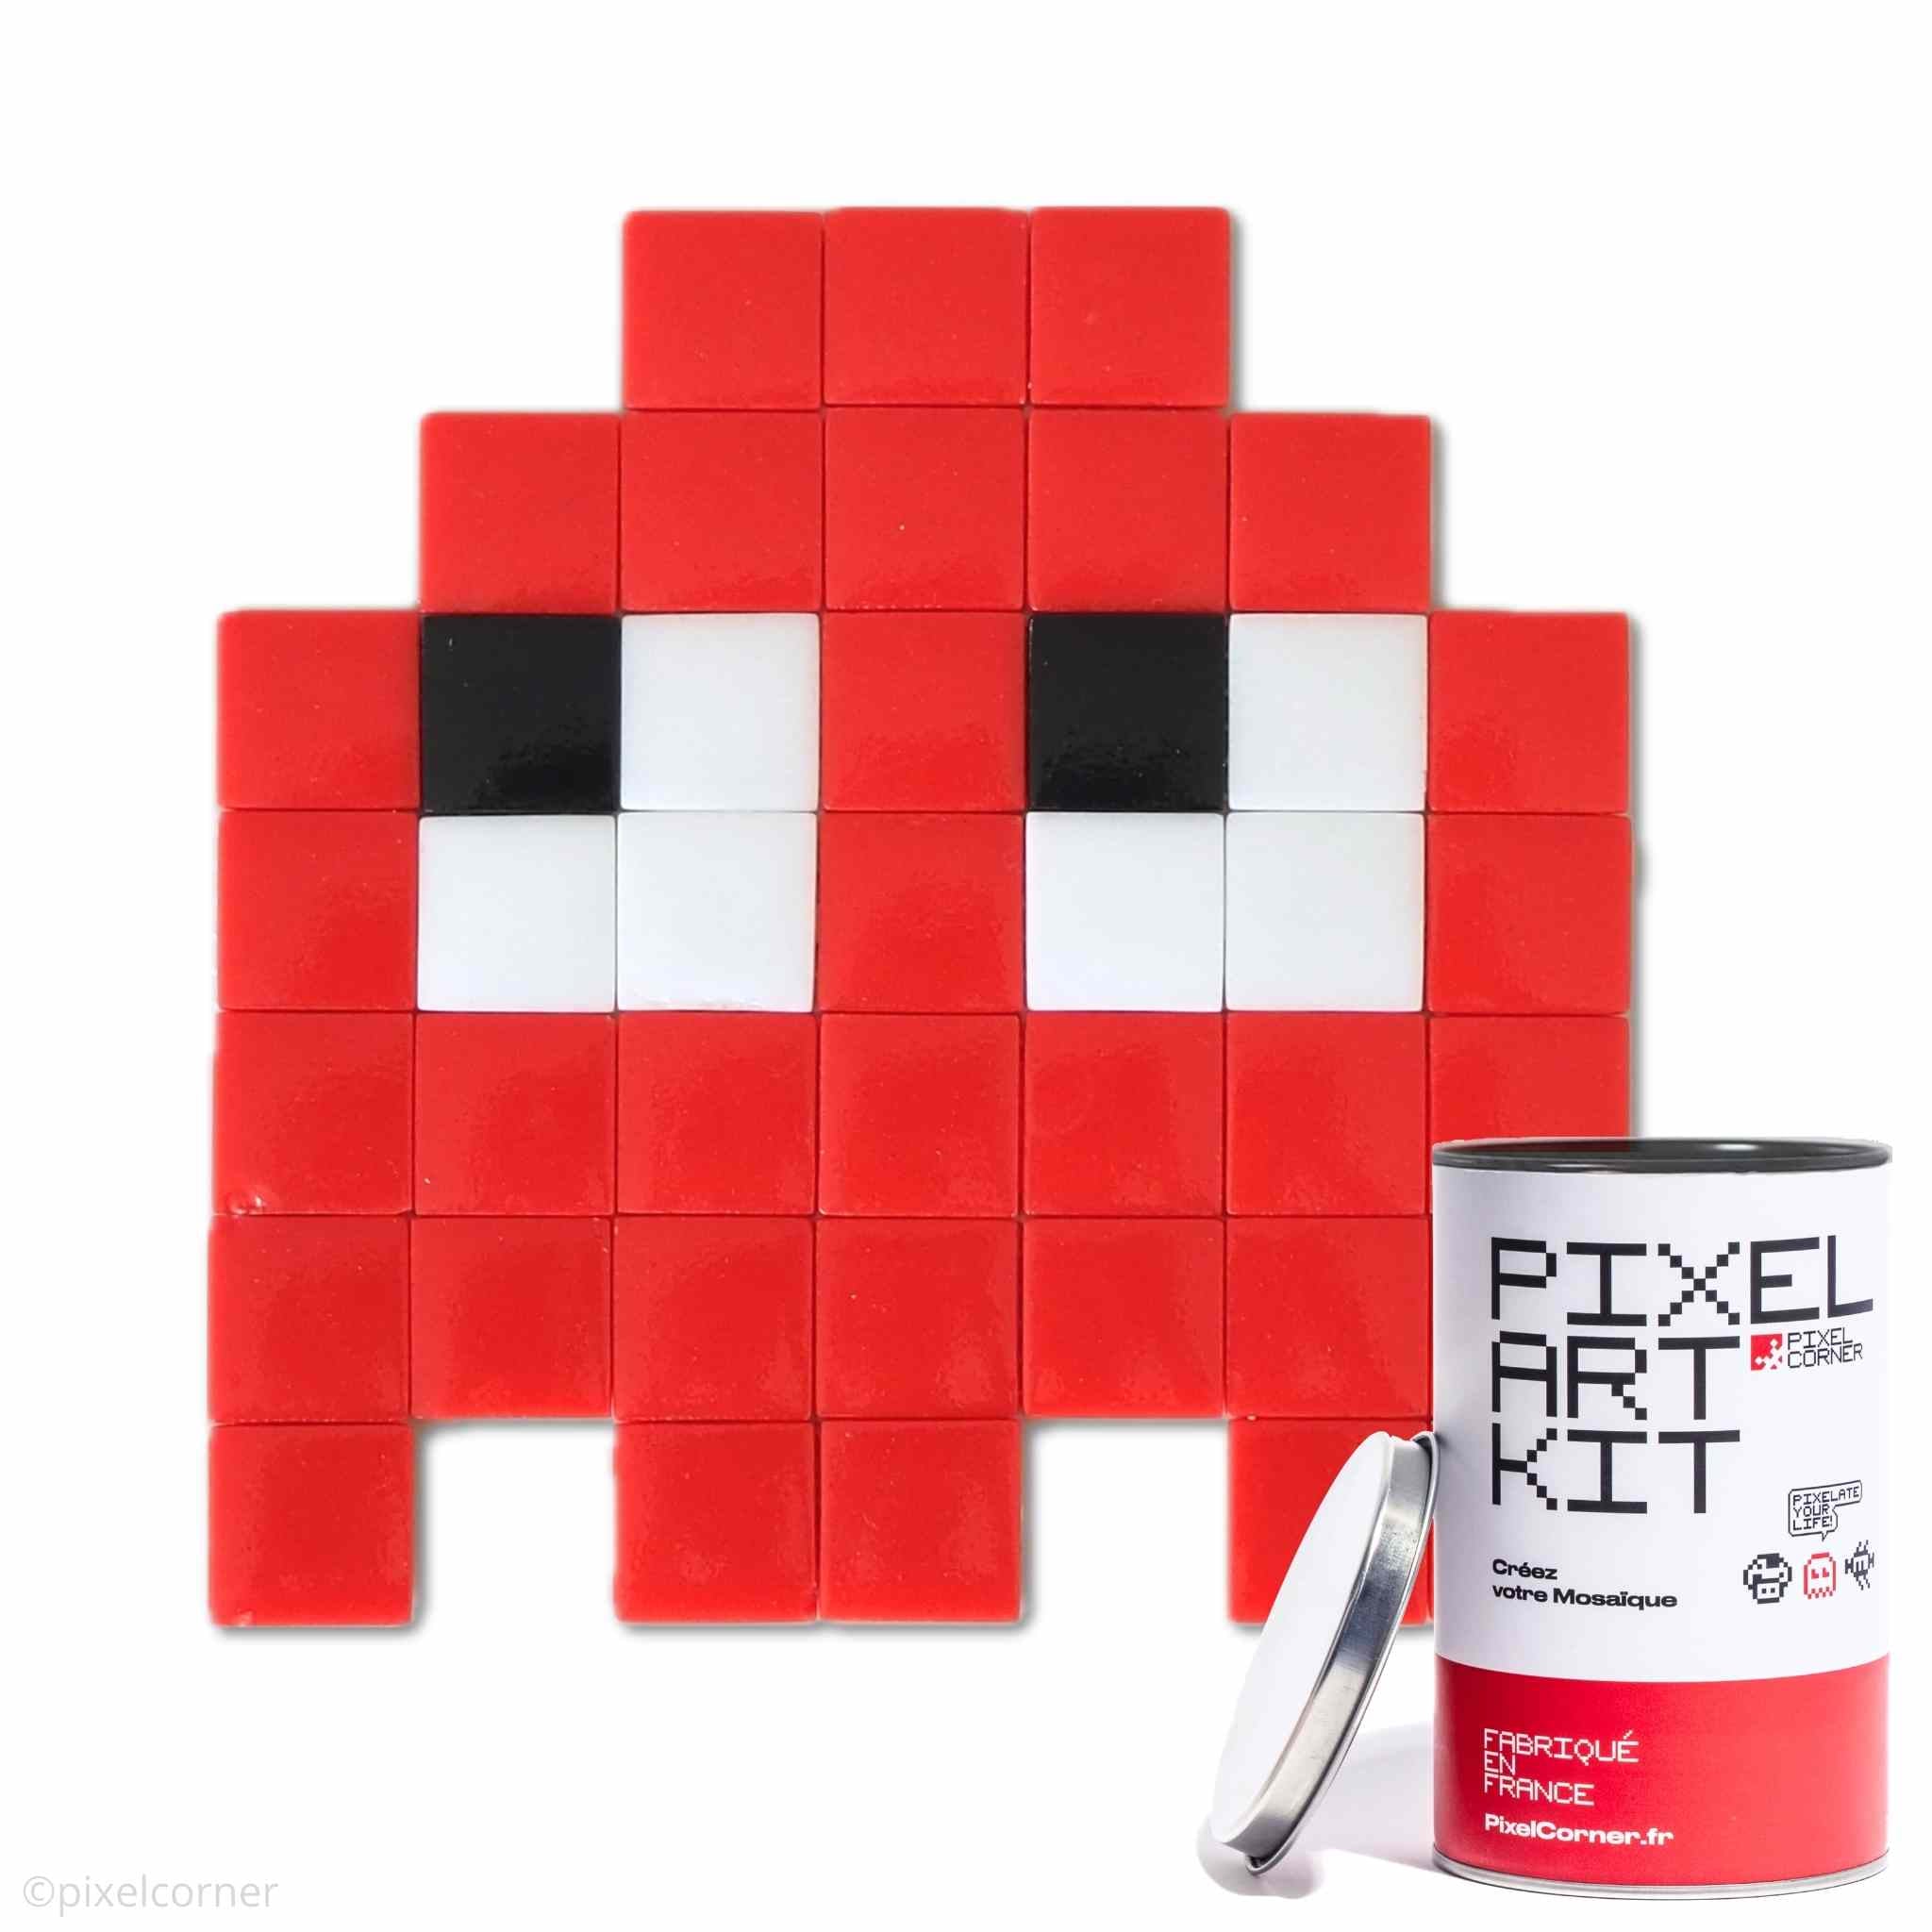
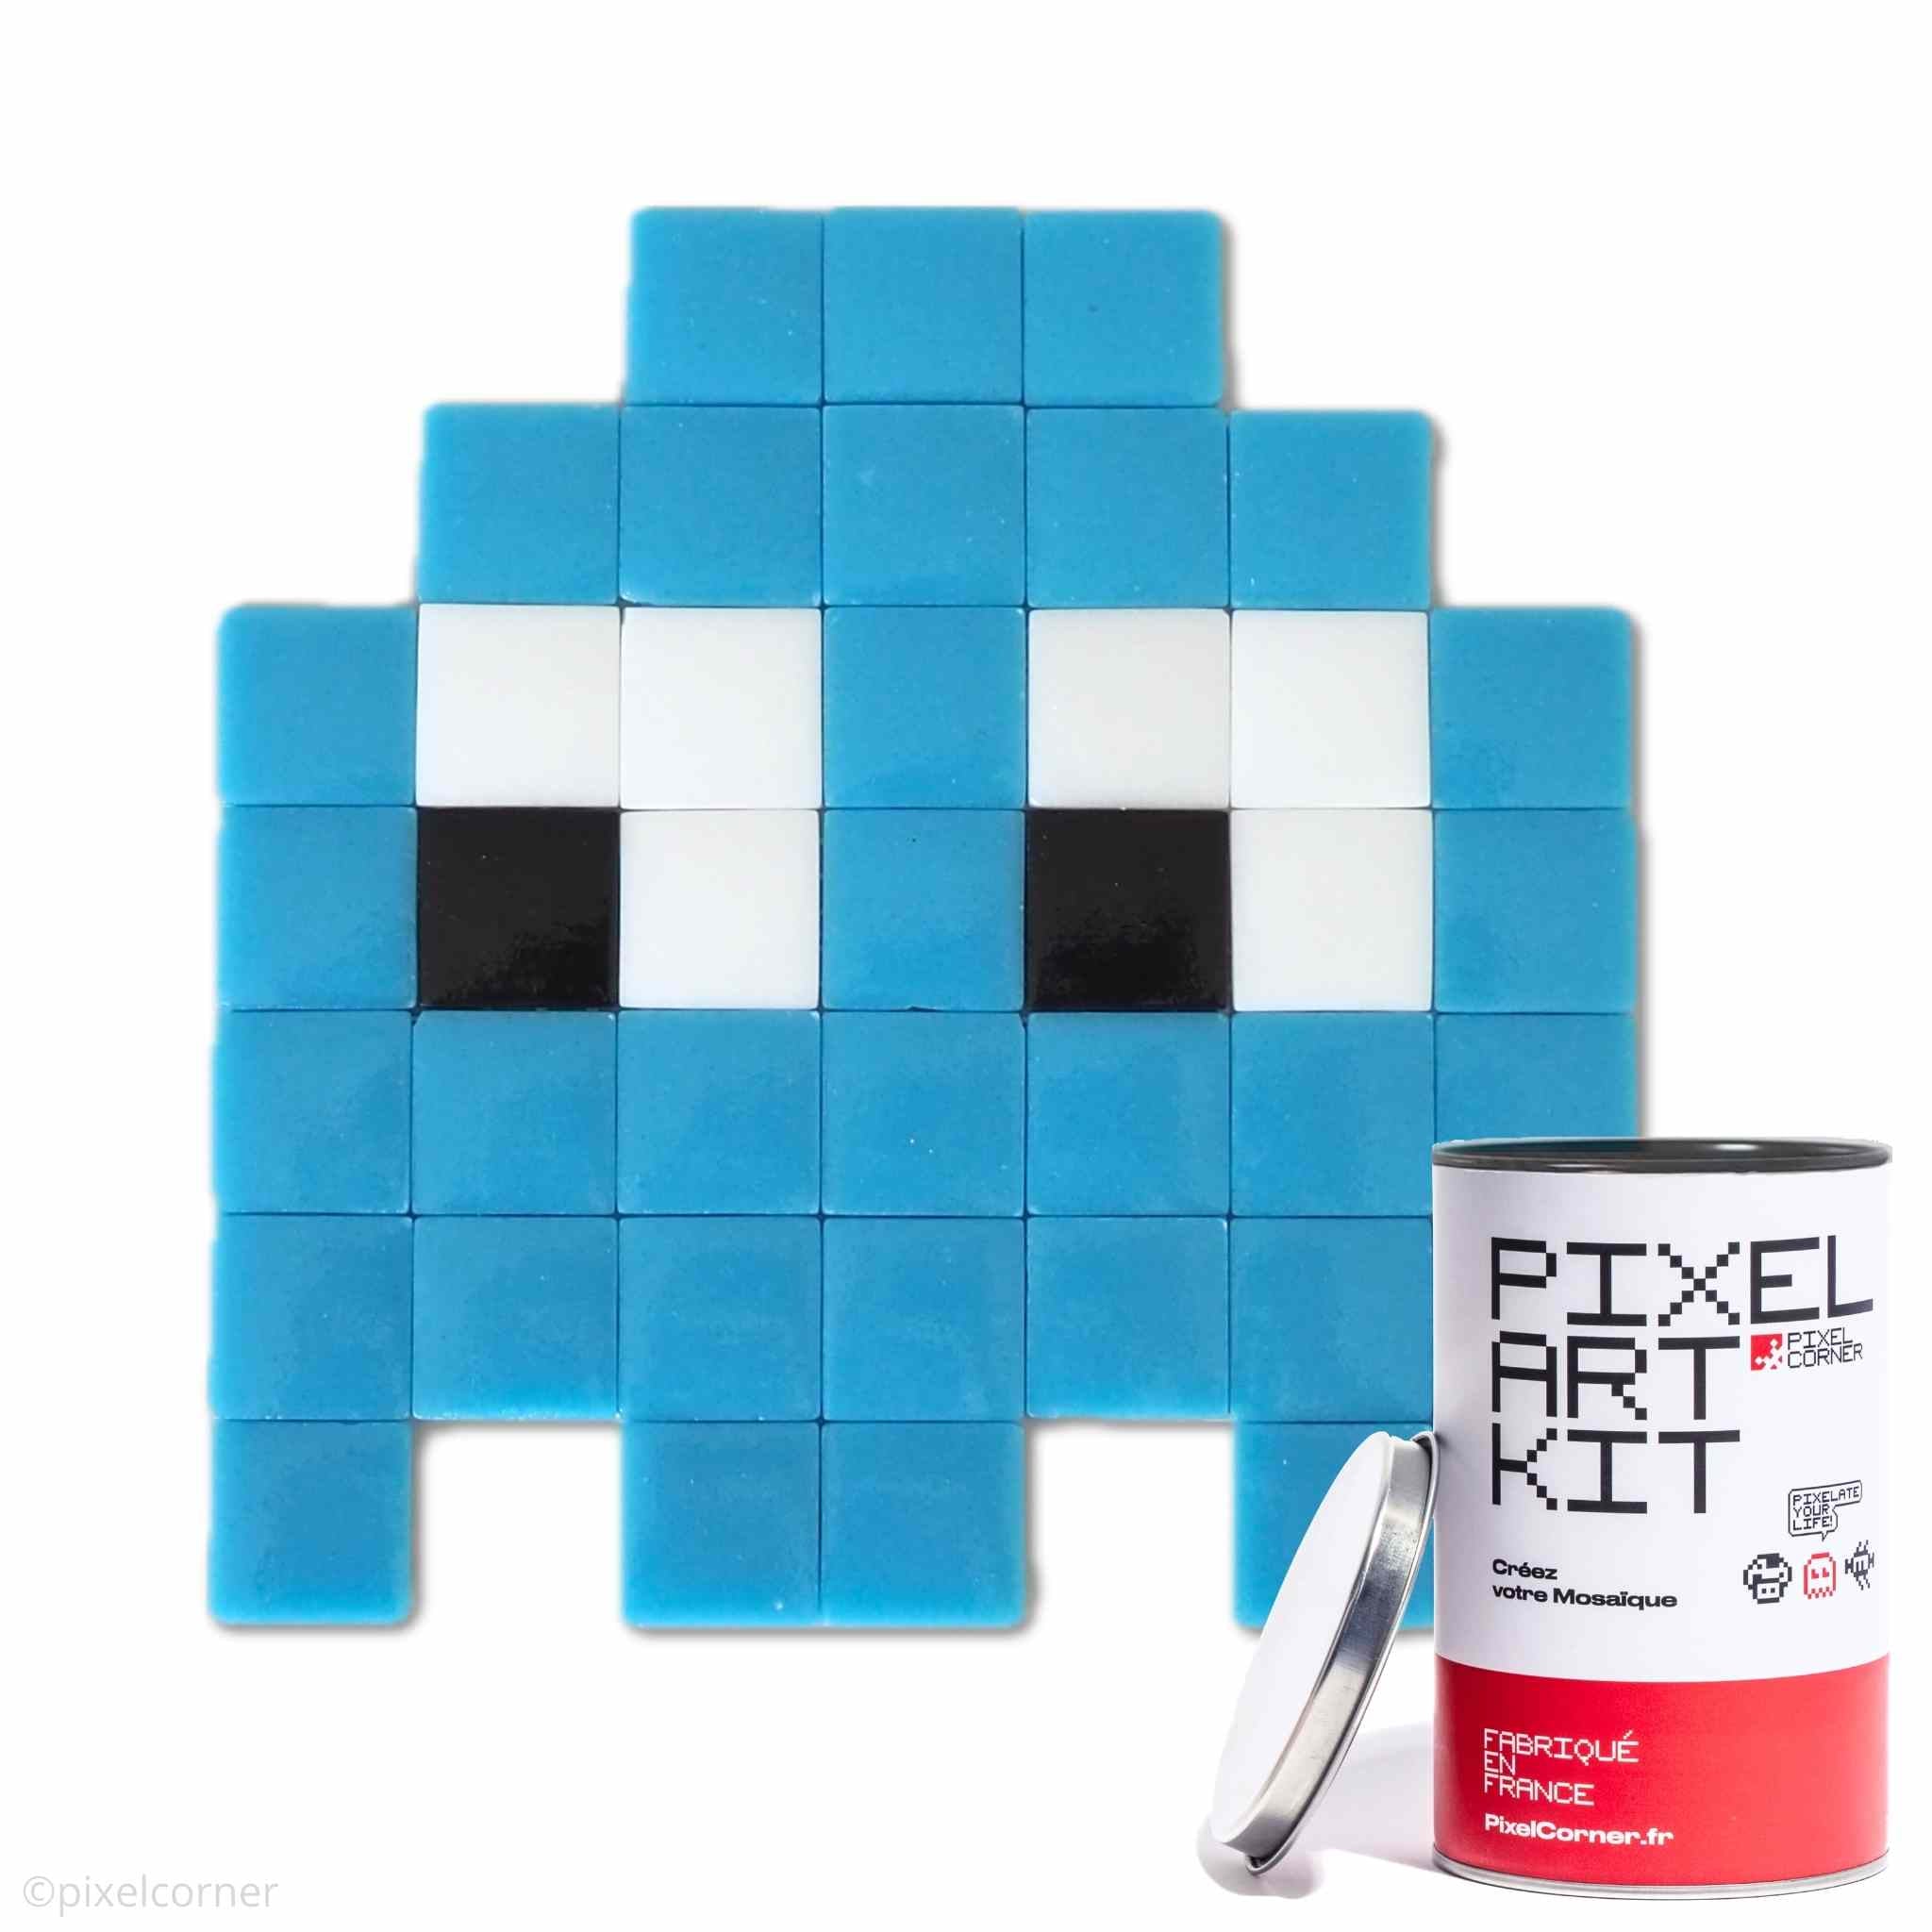
🧰 All-in-One Pixel Art Kits
Includes: Tiles + Adhesive + Grid + Pattern + Mounting + Guide
✅ Ideal solution for beginners: everything is provided. Assembled in France.
Price: €24.95 to €69.95
Discover the Kits →🧱 Loose Materials (Customized)
Available: Tiles in 2 sizes individually or in sets
✅ For 100% personalized creations: compose your palette.
Price: From €0.10/tile
See materials →🎨 Ready to compose your palette?
Discover our loose tiles to create a 100% unique artwork, or opt for a ready-to-use Pixel Art Kit if you're a beginner.
- 🇫🇷 Hand-assembled in Saint-Ouen, France
- ♻️ Recycled glass from other industries
- 🌿 Natural pigments for dyeing
- 📦 Reusable and recyclable packaging
- 🌍 Carbon-neutral shipping since 2023
6. Six Tips for a Durable and Harmonious Result
Here are our 6 expert tips to ensure a clean, durable, and aesthetic result!
✅ Clean Surface
Work on a clean, dry, and flat surface. An uneven surface = misaligned tiles.
✅ Drying Time
Allow the adhesive to dry for at least 24 hours. Do not touch during drying.
✅ Glass Space
If framing, leave 3-5mm between the glass and tiles to prevent condensation.
✅ Clean Smudges
Wipe off glue smudges immediately. Once dry, it's very difficult to remove.
✅ Photograph Your Work
Photograph your artwork with good lighting to track your progress.
✅ Start from a Corner
Start from a corner (top left if right-handed) to avoid touching glued tiles.

Frequently Asked Questions: Pixel Art Mosaic Materials
What is the best tile size to start with?
To start, choose the Classic format (2.3 × 2.3 cm) which offers the best balance between readability and ease of assembly. This is the standard size for Pixel Corner Pixel Art Kits. Mini (1.2cm) are reserved for detailed creations once you have mastered the basics.
What type of tiles for a durable mosaic?
Recycled glass tiles offer the best durability, shine, and aesthetics. At Pixel Corner, our tiles are made from high-quality recycled glass, tinted with natural pigments, and assembled in France. Plastic tiles are suitable for fun projects with children.
What glue should I use to fix the tiles?
Use a professional indoor/outdoor transparent two-component mosaic adhesive (like our Pixel Corner glue). Alternative: thick "No More Nails" type universal adhesive. Avoid dangerous Superglues and liquid glues that don't hold enough.
What support for a wall mosaic?
For a wall art piece, use a rigid base (wood, plexiglass, or a repainted frame back). For large formats, opt for a special flexible mosaic grid with a pre-printed grid (like the Pixel Corner grid included in all our kits). The grid facilitates precise positioning.
Are Pixel Corner tiles eco-friendly?
Yes, 100%! All Pixel Corner tiles are made from recycled glass sourced from other industries, tinted with natural pigments, and hand-assembled in France in Saint-Ouen. We use recyclable packaging and have offered carbon-neutral shipping since 2023 ♻️
Summary: Choosing Wisely = Successful Project
Choosing your pixel art mosaic materials wisely ensures the success of your DIY project. From tile size and material type to professional glue and suitable support, every detail matters.
📝 Recap of essential choices
- Tiles: Recycled glass (shine + durability) or plastic (economical)
- Size: Classic 23x23mm format to start
- Support: Rigid base (wood/plexiglass) or flexible grid
- Glue: Two-component transparent indoor/outdoor
- Tools: Spatula, gloves, paper towels, table protection
With the right Pixel Corner materials (made in France, recycled glass, natural pigments), your mosaic will become a unique, fun, durable, and eco-friendly work of art. You are ready to start assembling! 🧩✨




Leave a comment
This site is protected by hCaptcha and the hCaptcha Privacy Policy and Terms of Service apply.