


Your idea is ready, your design too, and you have all the materials? Then let's go, time to assemble! In this fourth installment of the Pixel Art Mosaic Guide, Pixel Corner walks you through the steps to properly lay your tiles, achieve clean edges, and a durable finish.
1. Prepare Your Workspace and Materials
Preparation is essential for smooth assembly and a clean finish. Set up on a flat, clean, and well-lit surface.
✅ Essential Material Checklist
- Your tiles sorted by color in small bowls
- Your pixel art design printed or on a tablet
- Movable support (hardcover book, board, thick cardboard)
- Adhesive base: flexible mesh or rigid support
- Cellophane film under the mesh (optional)
- Two-part or universal mosaic glue
- Metal ruler for the first line
- Cotton swabs for cleaning
- Spatula or old knife
- Damp microfiber cloth
Use a movable support to easily move your mosaic. Work near a source of natural light — colors show up better!

← Part 1: Find Inspiration
← Part 2: Create Your Design
← Part 3: Choose Materials
2. Dry Lay: Alignment & Markers (Optional)
Before permanently gluing, you can do a "dry lay" without glue. This optional step is recommended for beginners.
✅ Center Your Piece
Check that your design is well-centered on the support. Add visual markers.
✅ Check Tiles
Make sure you have all the necessary tiles in the correct colors.
✅ Compose & Modify
Test color variations before committing permanently.
To easily center, place a few tiles without gluing them at the bottom and side as markers. Once satisfied, remove them and begin gluing.
3. Transfer the Design and Start Assembling
Place your pixel art design next to your workspace to keep it in view. Ideally, position it at eye level.
🚀 Where to begin?
Try to start with a large, complete line at the bottom of your design. This is your foundation line — it must be perfectly aligned!
- Identify the baseline (first complete horizontal line)
- Place the metal ruler horizontally
- Glue the first tile against the ruler (rough side)
- Continue the line, tile by tile
- Check alignment by stepping back
Tiles have 2 sides: one smooth (shiny = visible) and one rough (back). Glue must be applied to the rough side. If you glue on the wrong side, the glue will be visible!

4. Glue Line by Line Without Smudges
Continue assembling your tiles by progressing line after line. Regularity and patience are your best allies!
✅ Optimal gluing technique
A small dot on the back (rough side). A grain of rice is enough — too much glue will create smudges.
Place each tile and press for 2-3 seconds. Don't force it — the glue will spread naturally.
Every 2 lines, check the general alignment (1-2 meters). Adjust if necessary.
Remove excess with a cotton swab. Once dry, glue is difficult to remove.
⏱️ Winning Rhythm
Glue 2 lines → Check → Adjust → Continue

5. Correct Mistakes and Adjust Edges
Mistakes are normal and easily correctable! Here are the most frequent problems:
❌ Misplaced Pixel
Solution: Gently remove it with a spatula. If the glue hasn't dried (5-10 min), it's easy. Add a new dot and reposition.
💡 Check regularly during gluing!
💧 Visible Excess Glue
Solution: Remove immediately with a dry or damp cotton swab. If dry, gently scrape with a blade.
💡 Use less glue (grain of rice)!
📐 Crooked Line
Solution: Correct before continuing! Move tiles with your spatula. If significant, remove the last 2-3.
💡 Check every 2 lines!
6. Drying & Professional Finishing
Your mosaic is complete! Let it dry properly and apply the finishing touches.
⏱️ Drying time
- Minimum: 6-8 hours before handling
- Optimal: 12 hours for complete drying
- Safety: 24 hours before wall mounting
- Let dry flat
- Avoid dust and humidity
- Do not touch before complete drying
- Ideal temperature: 18-25°C

🧹 Finishing
1️⃣ Flip the artwork
If you have cellophane film, gently flip it between 2 boards to remove it.
2️⃣ Consolidate the back
Optional: add glue to the back dot by dot. Dry for 12-24h.
3️⃣ Trim excess
Cutter or scissors to cut the mesh. Leave 1-2mm margin.
4️⃣ Final cleaning
Dry cloth then slightly damp. Scrape off any glue residue.

Frequently Asked Questions: Mosaic Assembly
How long does it take to assemble a mosaic?
For a standard size (16×16 to 24×24cm), allow 20min to 2h for assembly depending on your experience. Drying requires an additional 12 to 24h. For your first creation, plan generously and don't rush!
How to prevent tiles from being crooked?
Align your first line with a ruler — this is the foundation. Then, check alignment every 2 lines by stepping back. Small gaps (1-2mm) are normal and invisible once on the wall.
What if I have too many glue smudges?
Prevention: use less glue (grain of rice) and don't press too hard. Immediate solution: wipe with a dry or damp cotton swab. If dry: gently scrape with a thin blade.
Can I correct a misplaced tile after drying?
Yes! Use a cutter to delicately detach the tile. Clean the old glue spot, apply a new dot, and reposition. It's much easier before 12 hours of drying.
Do I have to do a dry lay?
No, it's optional but recommended for beginners. It allows you to center, check tiles, and compose before gluing. Experienced creators often glue directly to save time.
🎁 Useful Kits & Resources
🧰 Pixel Art Kits
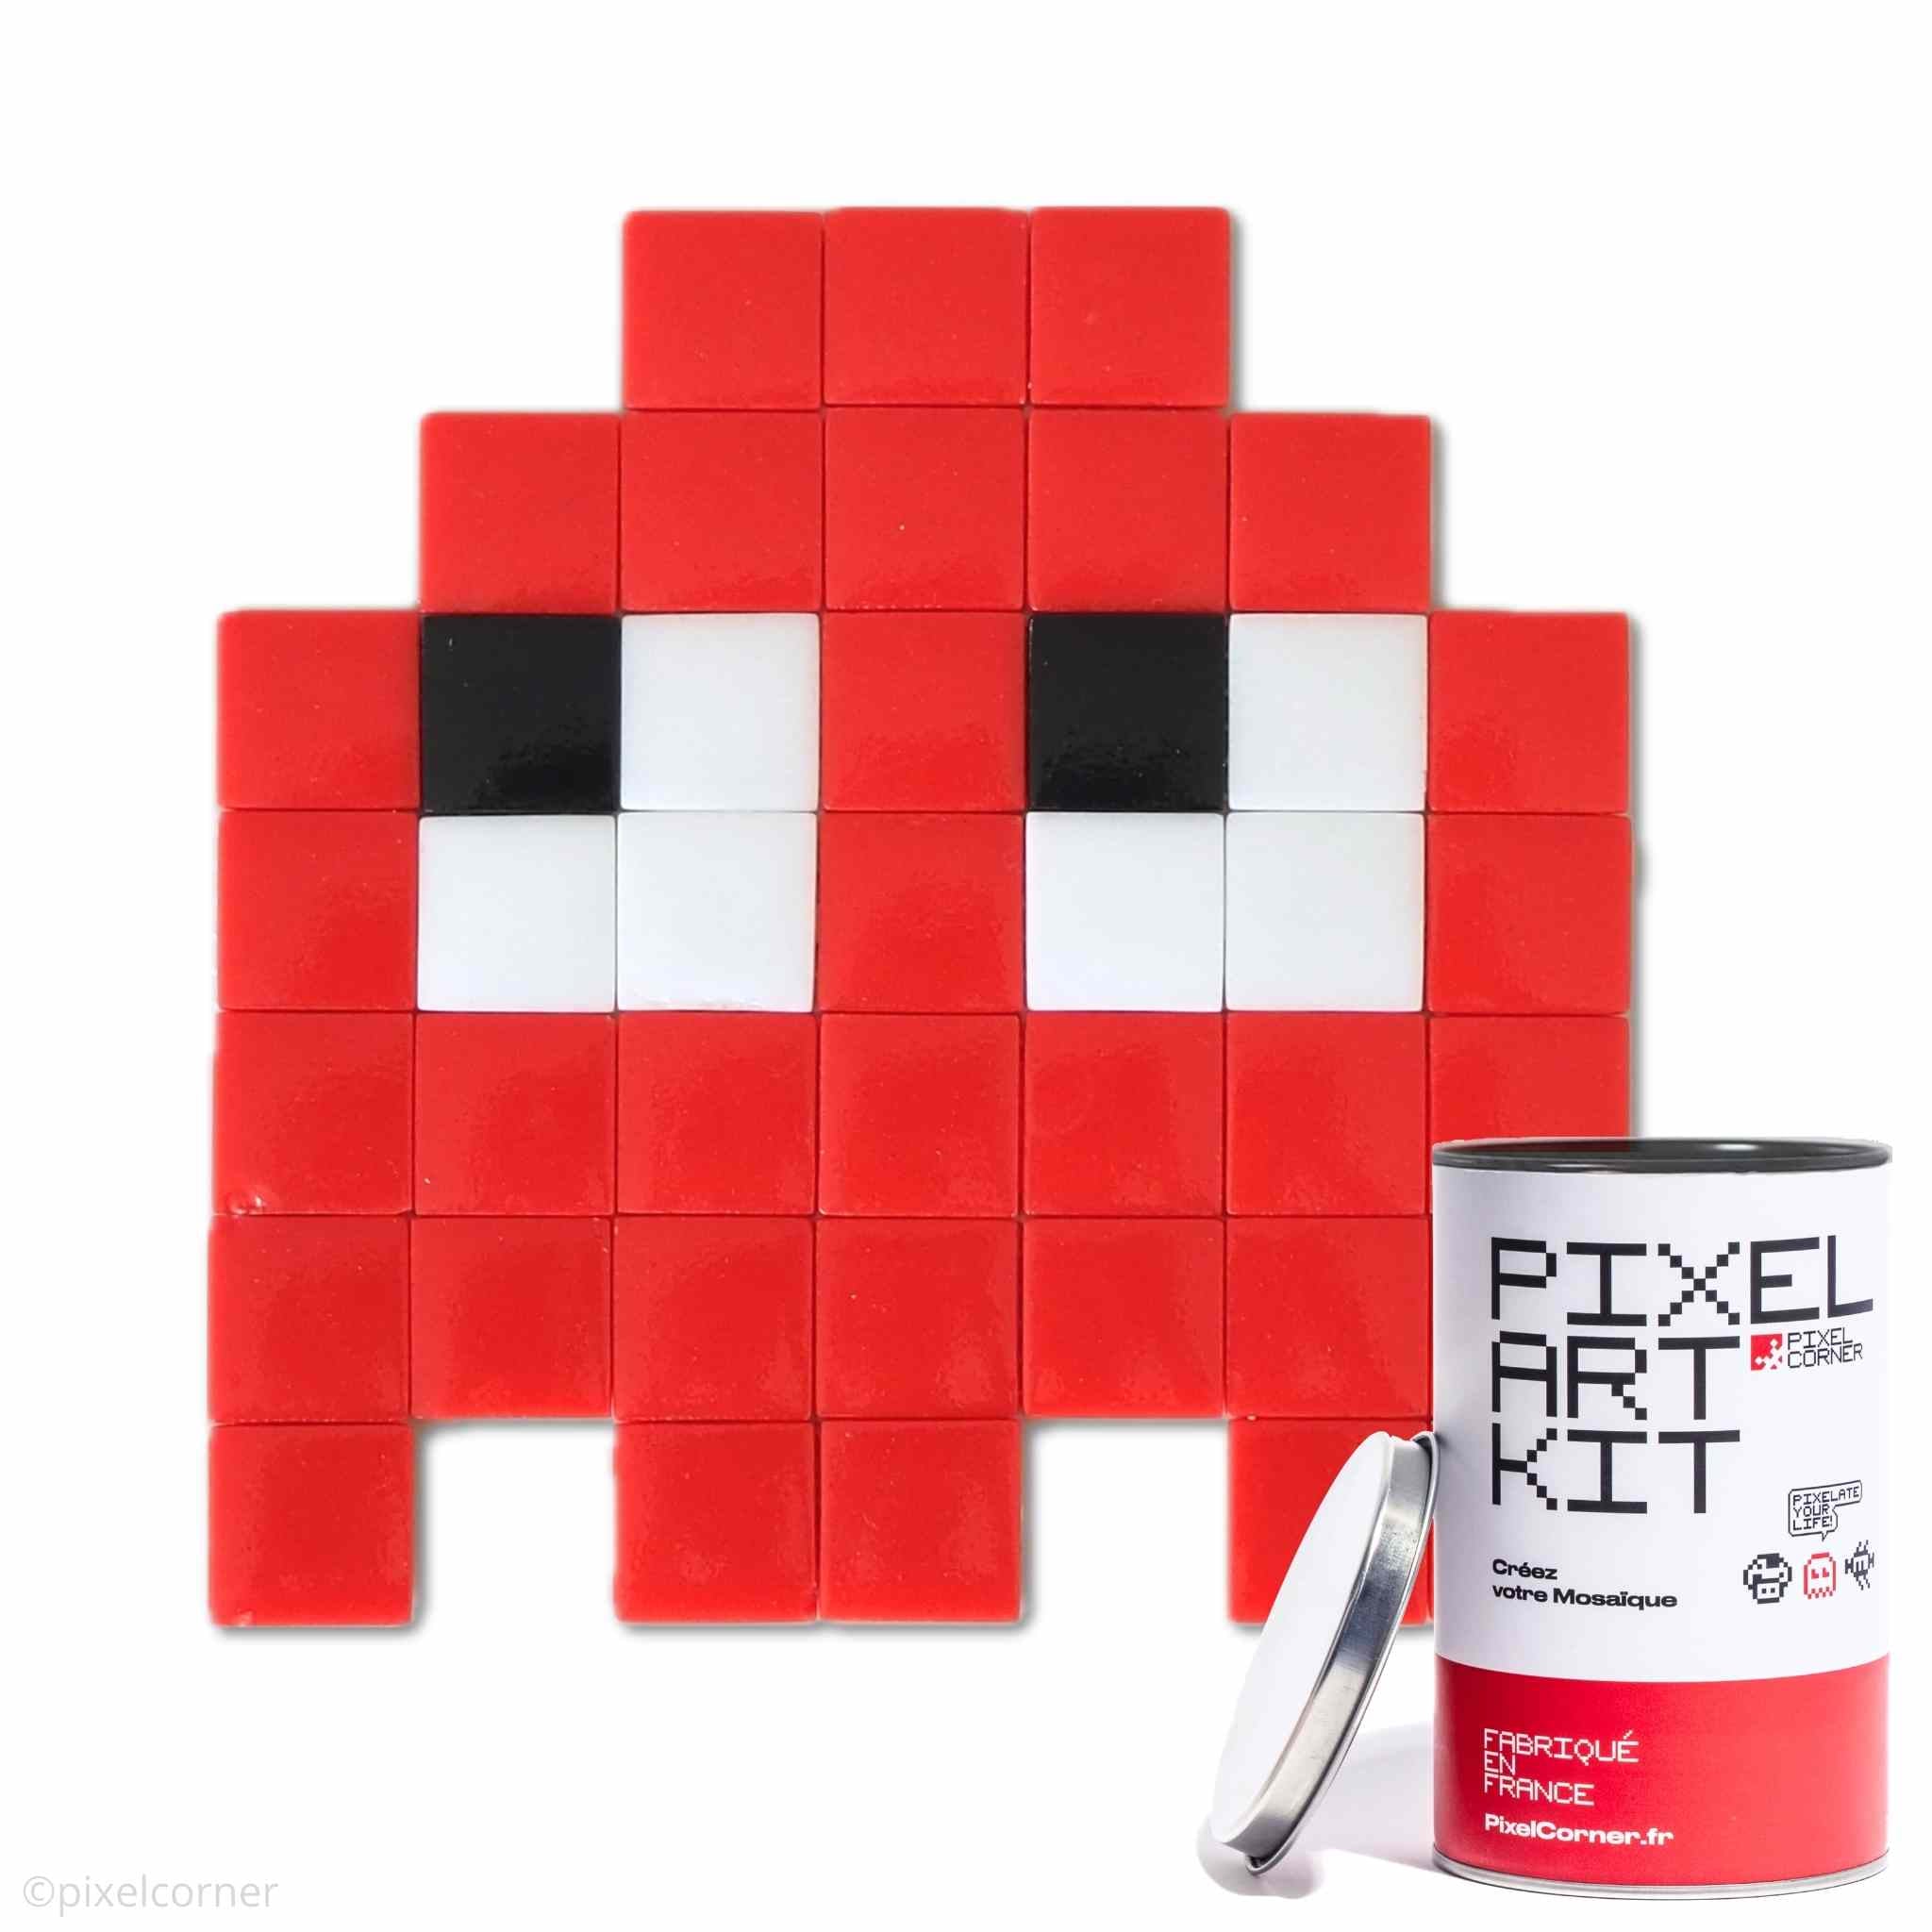
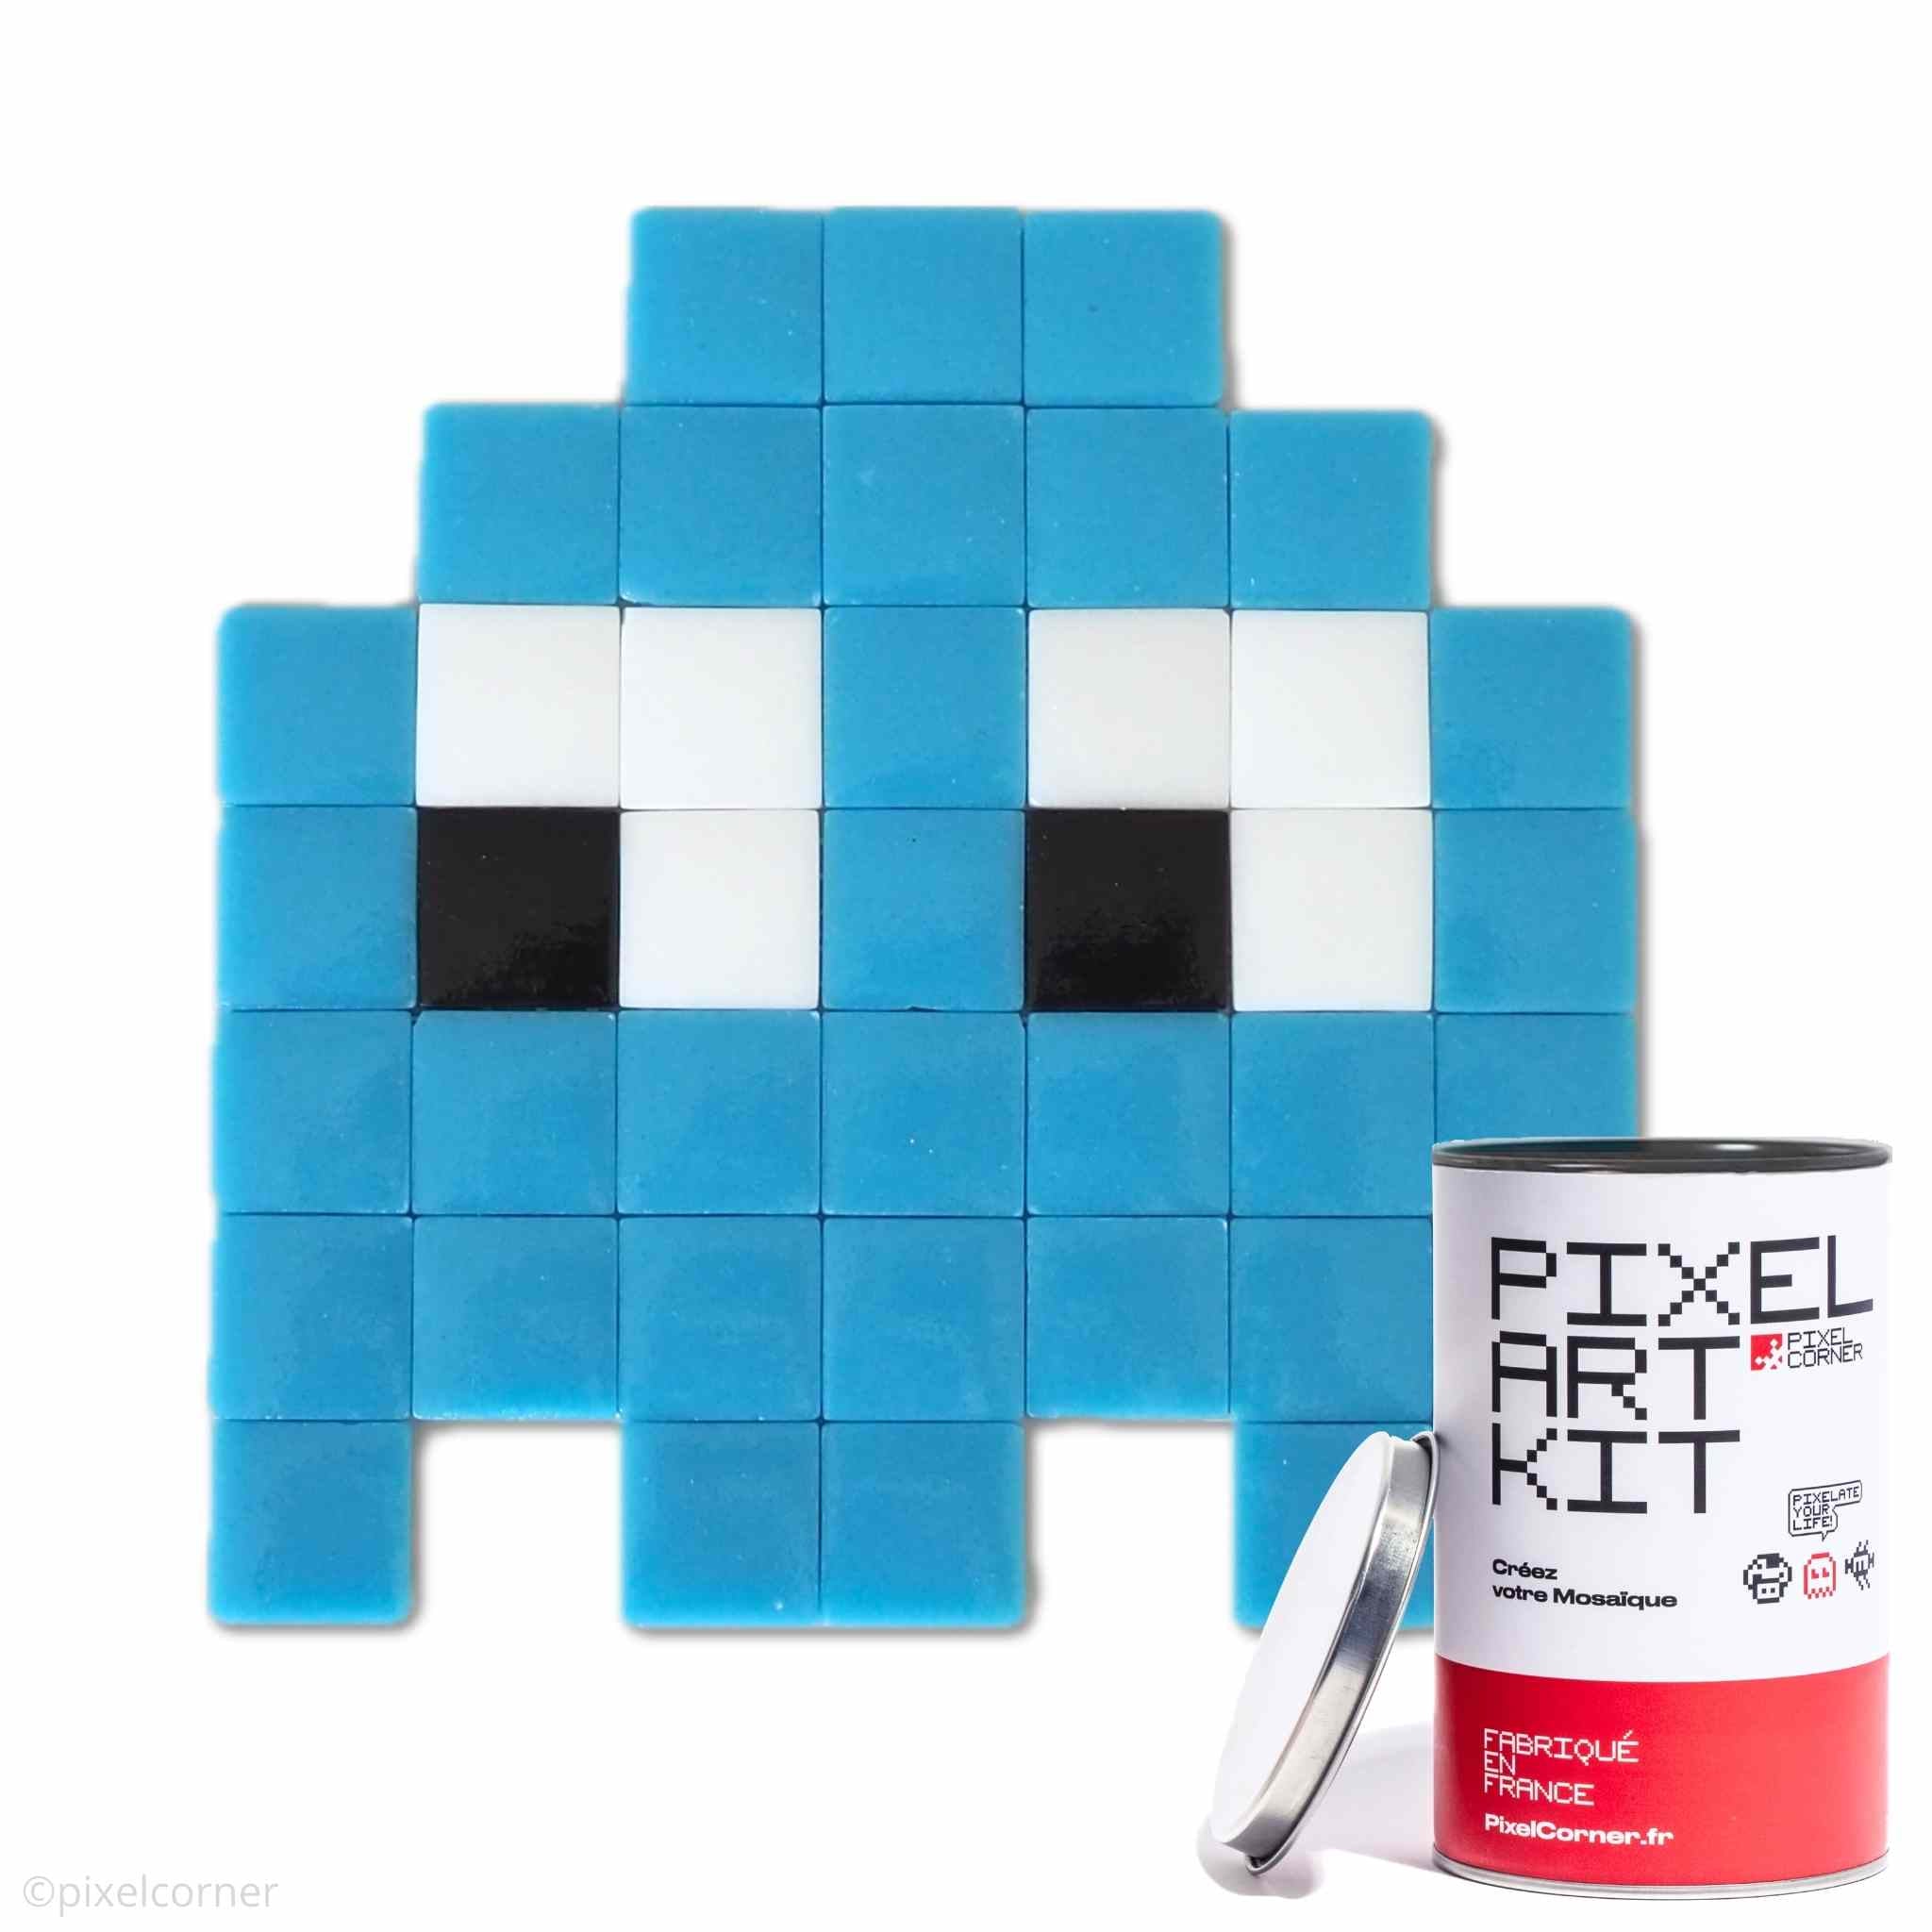
All inclusive: tiles + glue + mesh + design + mounting + guide
From 24.95€ to 69.95€
Discover →Summary: Assembly = Method + Regularity
Assembling a pixel art mosaic is a matter of method and regularity: prepare your space, align the first line, glue line by line while checking, clean up smudges immediately, and finish carefully after drying.
📝 6-Step Recap
- Prepare workspace: flat surface, materials within reach
- Dry lay (optional): center, check
- First line: align with ruler
- Glue line by line: check every 2 lines
- Immediate correction: before drying
- Drying 12-24h: trim, clean, mount
You are ready to assemble your first mosaic! Consult our illustrated tutorial for more details. 🧩✨




Leave a comment
This site is protected by hCaptcha and the hCaptcha Privacy Policy and Terms of Service apply.